How to Make a Flywheel with a TT Motor
 The aim of this guide is to show MiniFRC teams how to pull the DC motor from a TT motor and use it to make a flywheel.
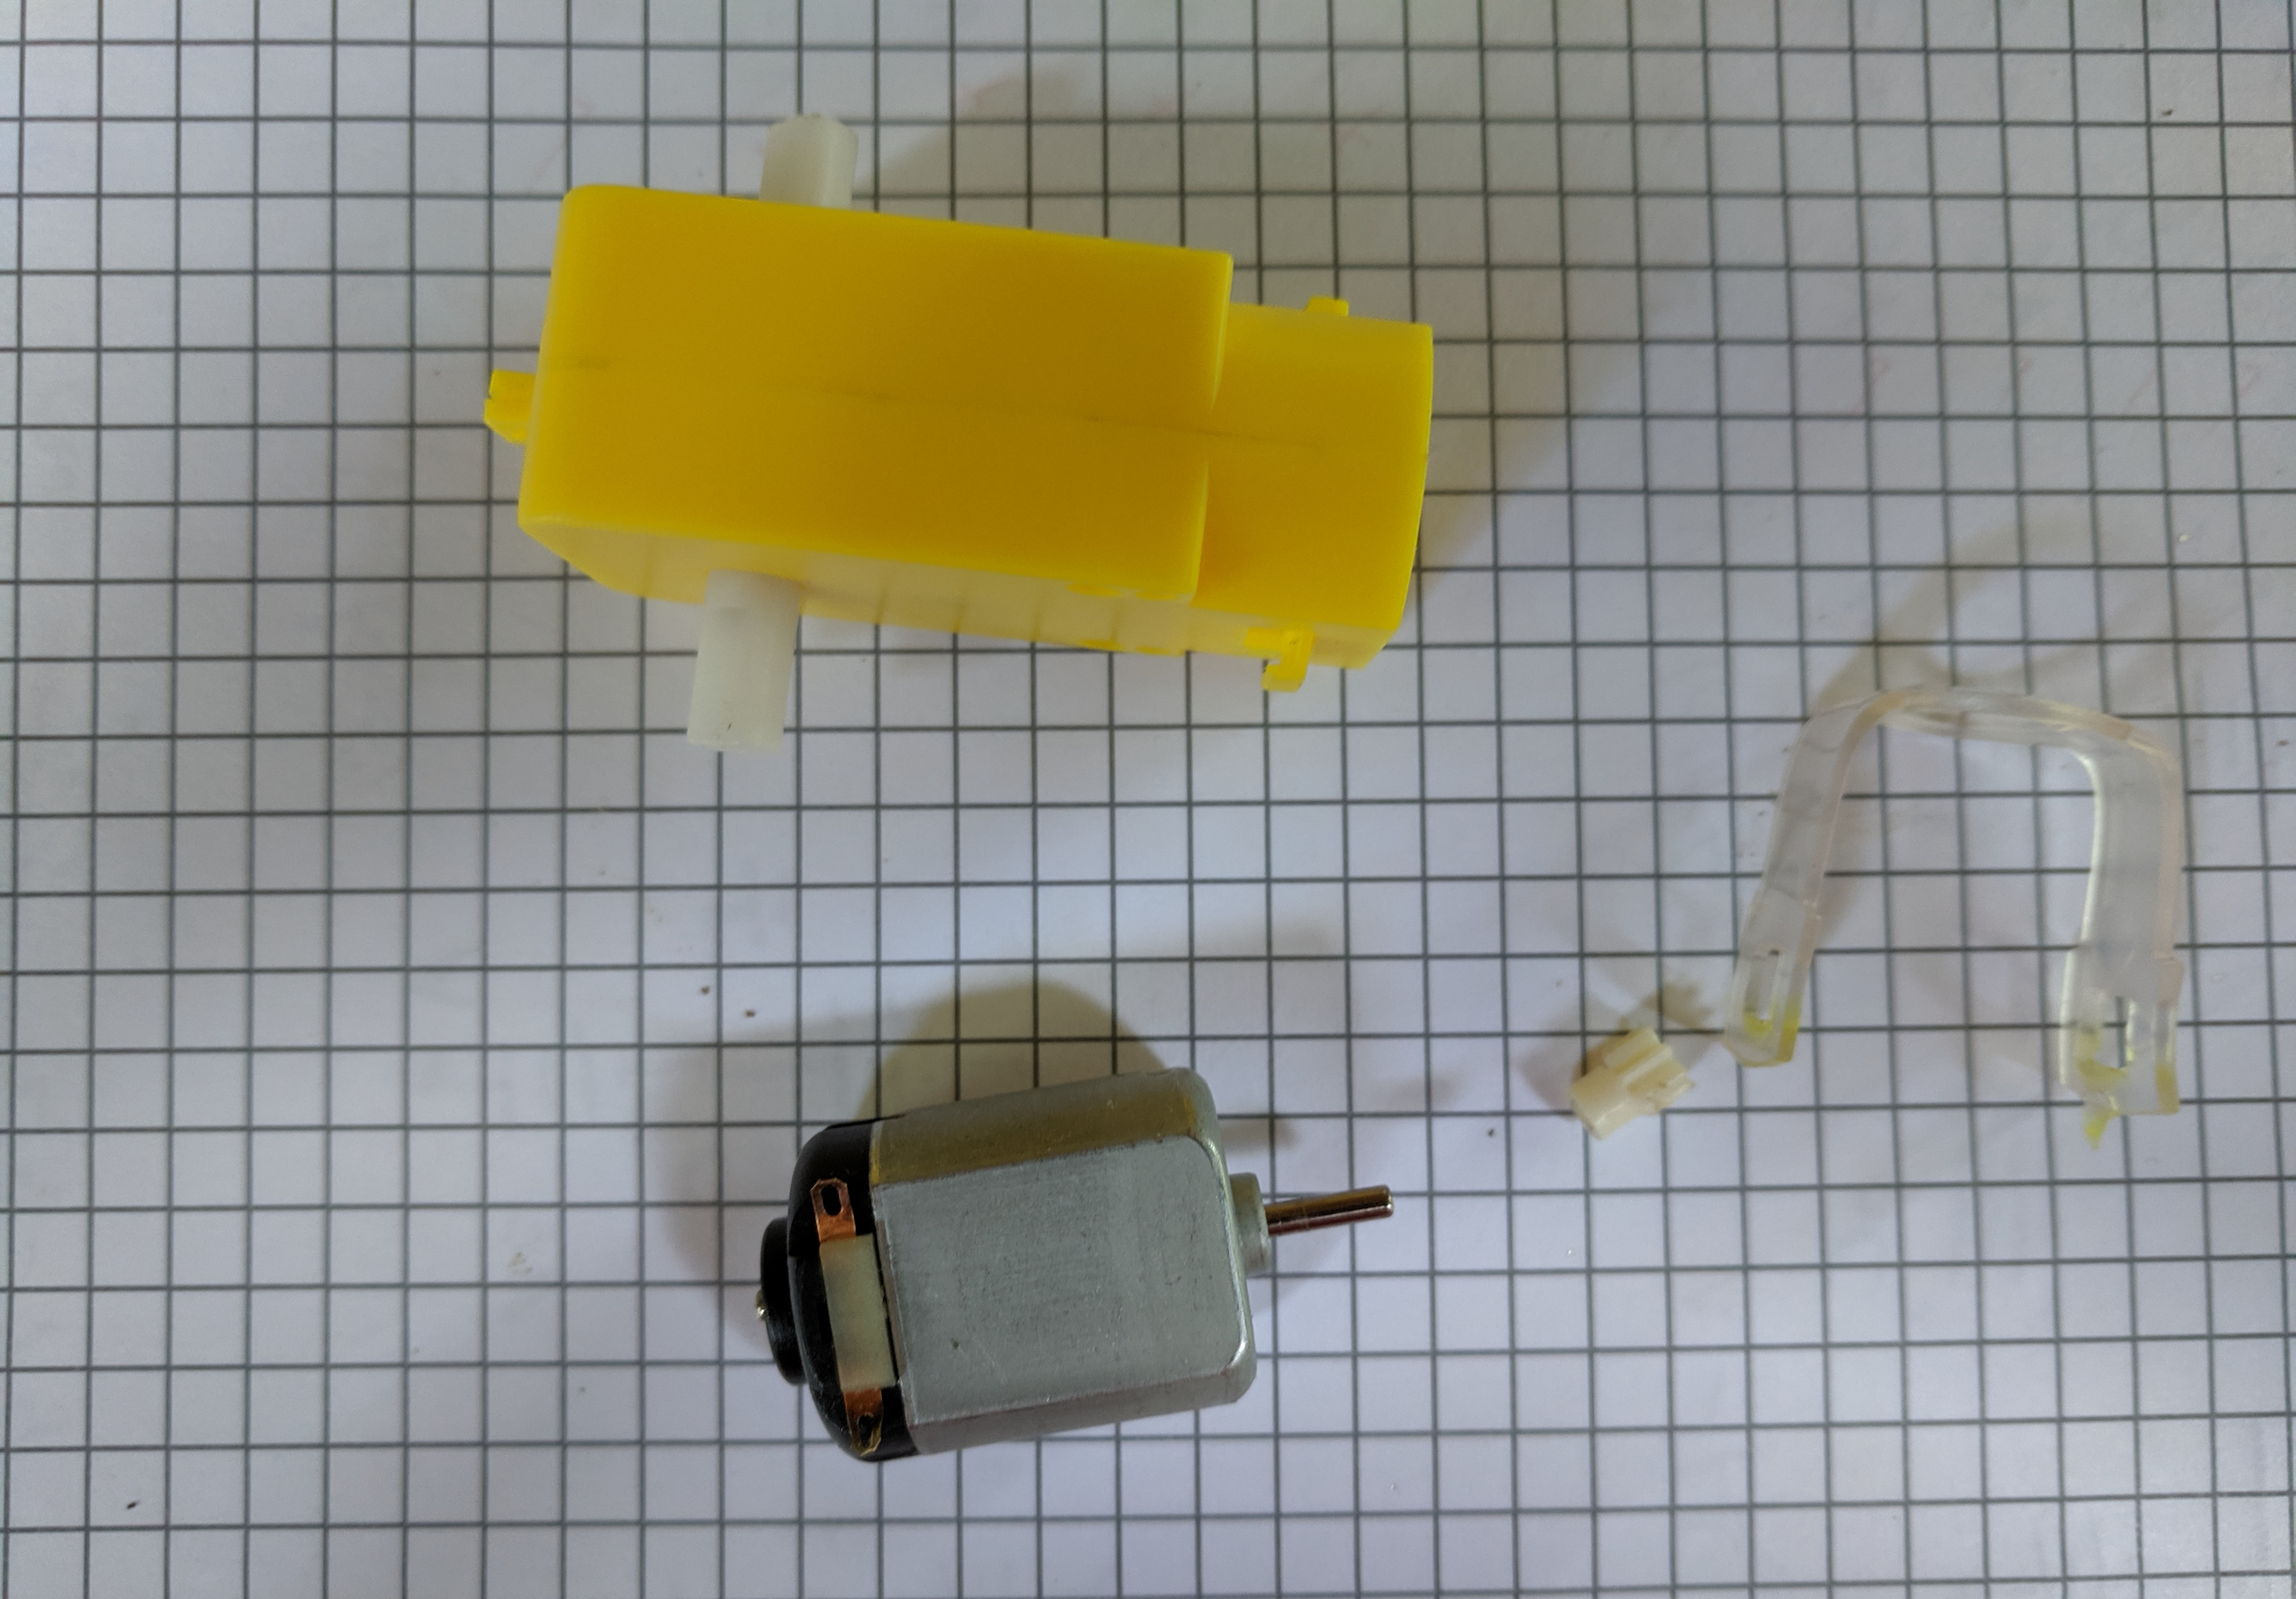
- Find a TT motor with a working motor that you don’t mind disassembling.
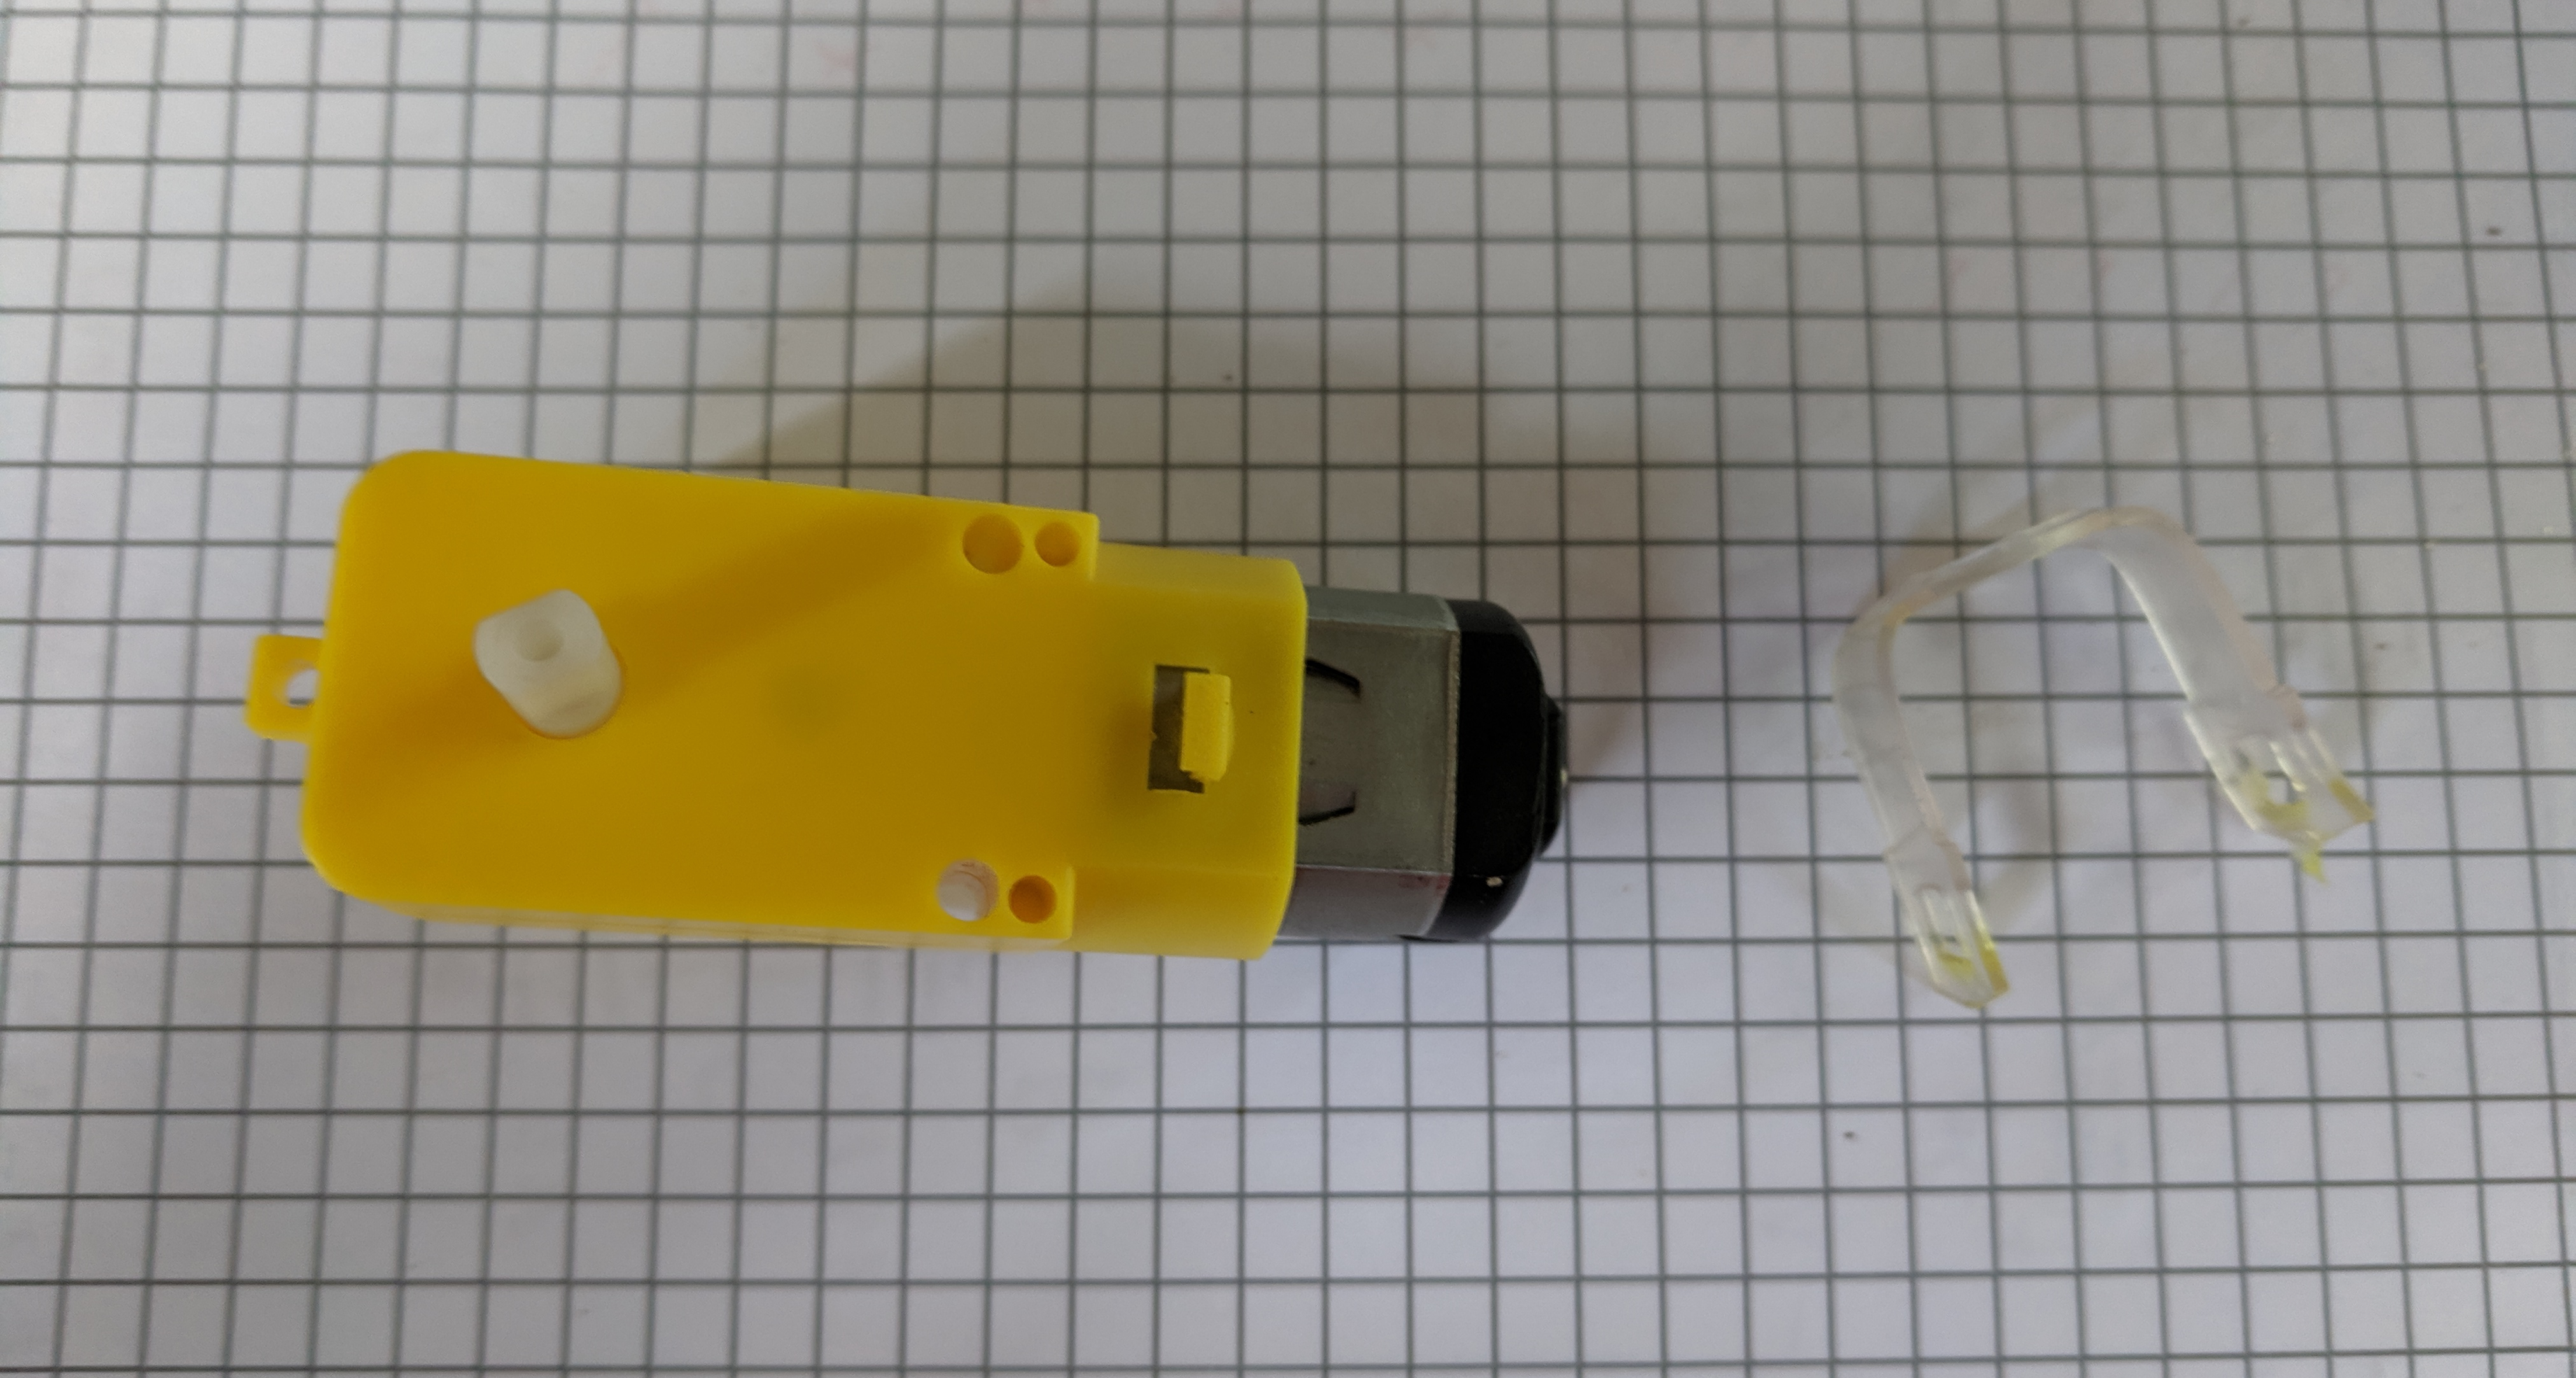
- Remove the clear rubber covering located at the end of the motor. This piece is connecting the motor to its gearbox.
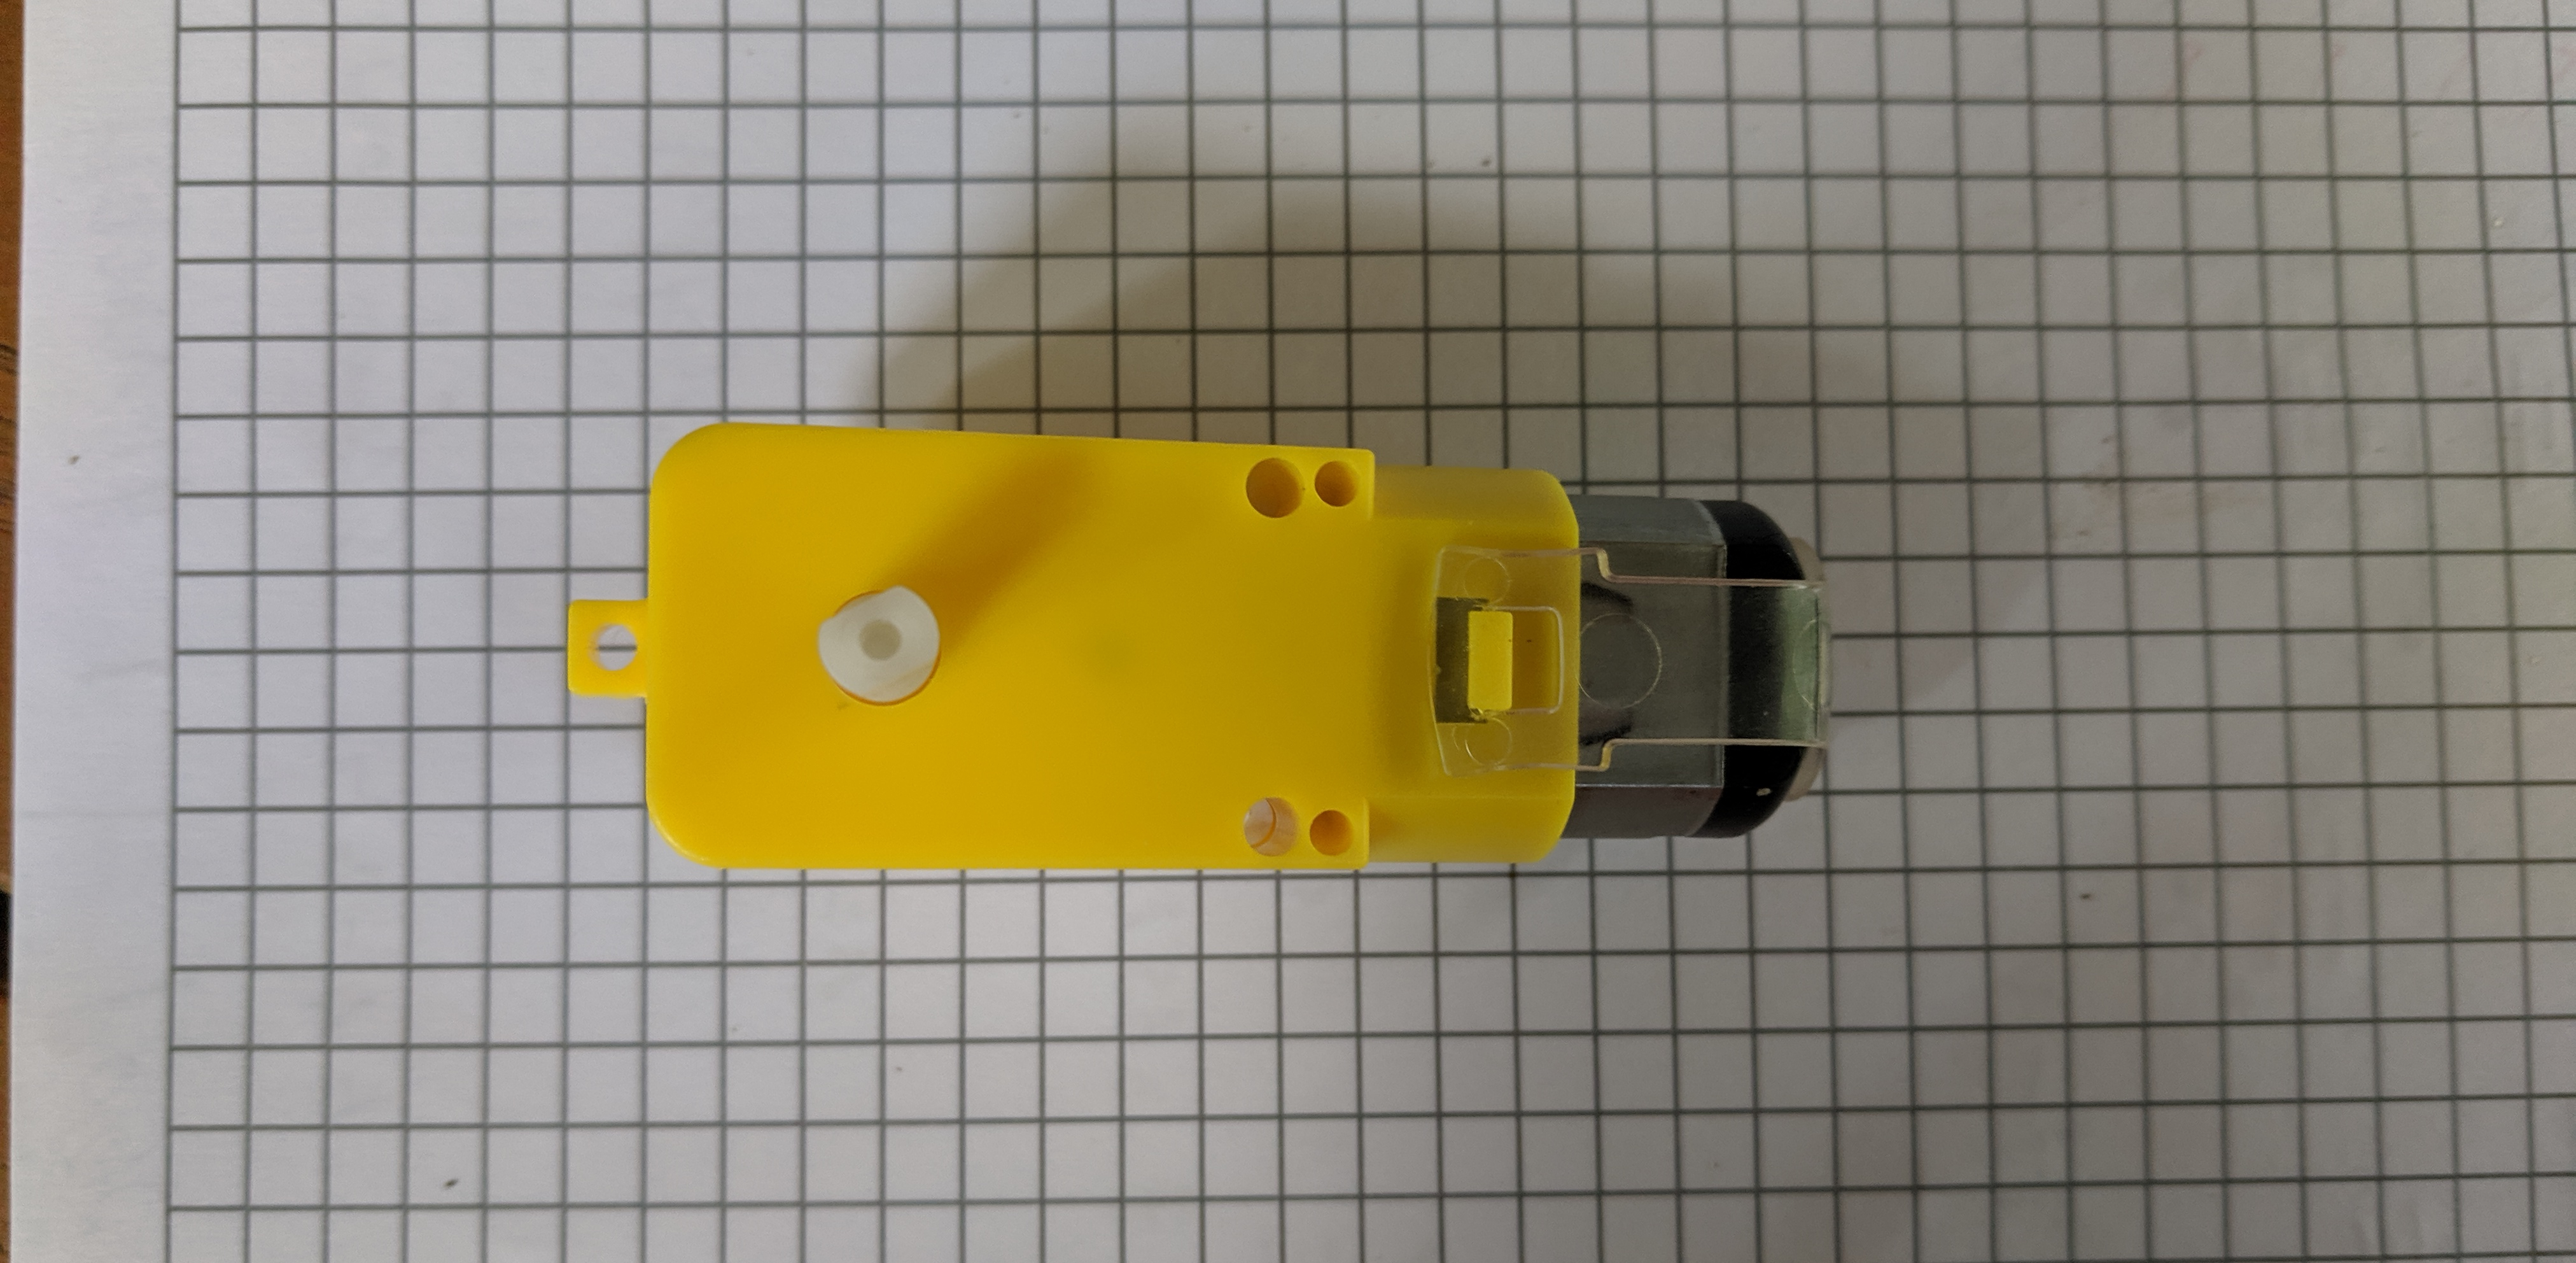
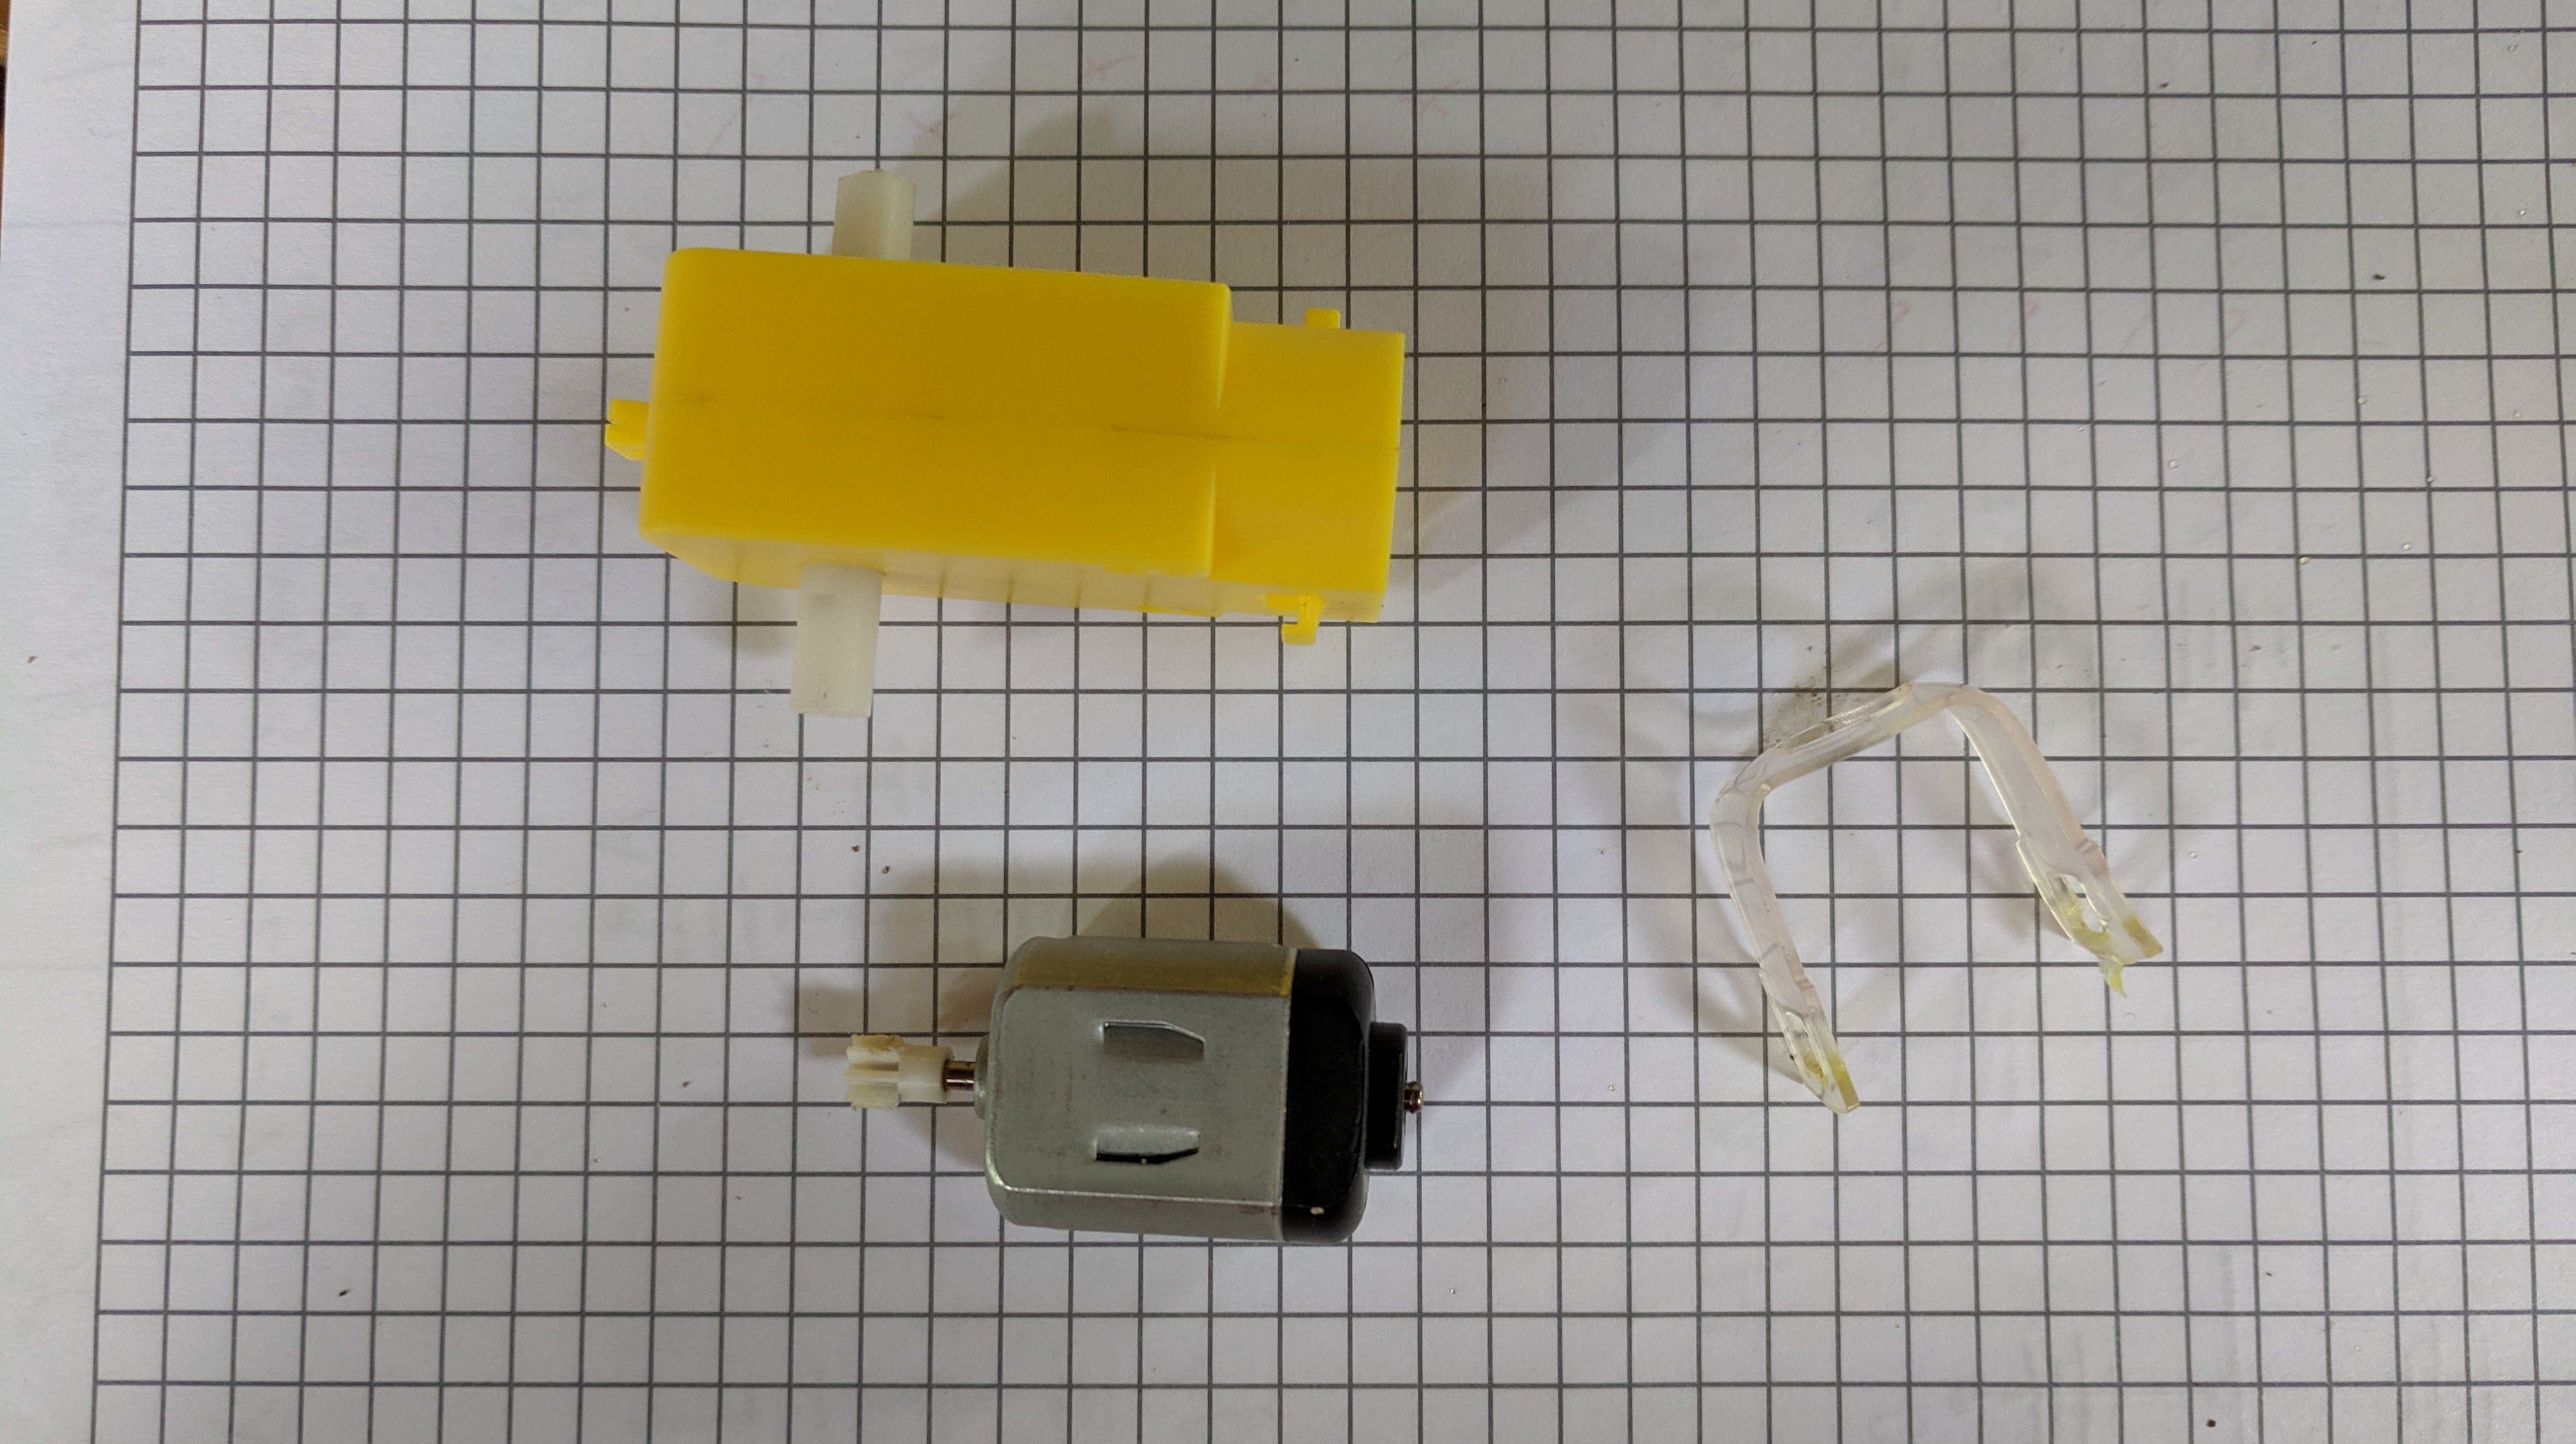
- Carefully remove the motor by pulling the yellow gearbox and grey motor apart.
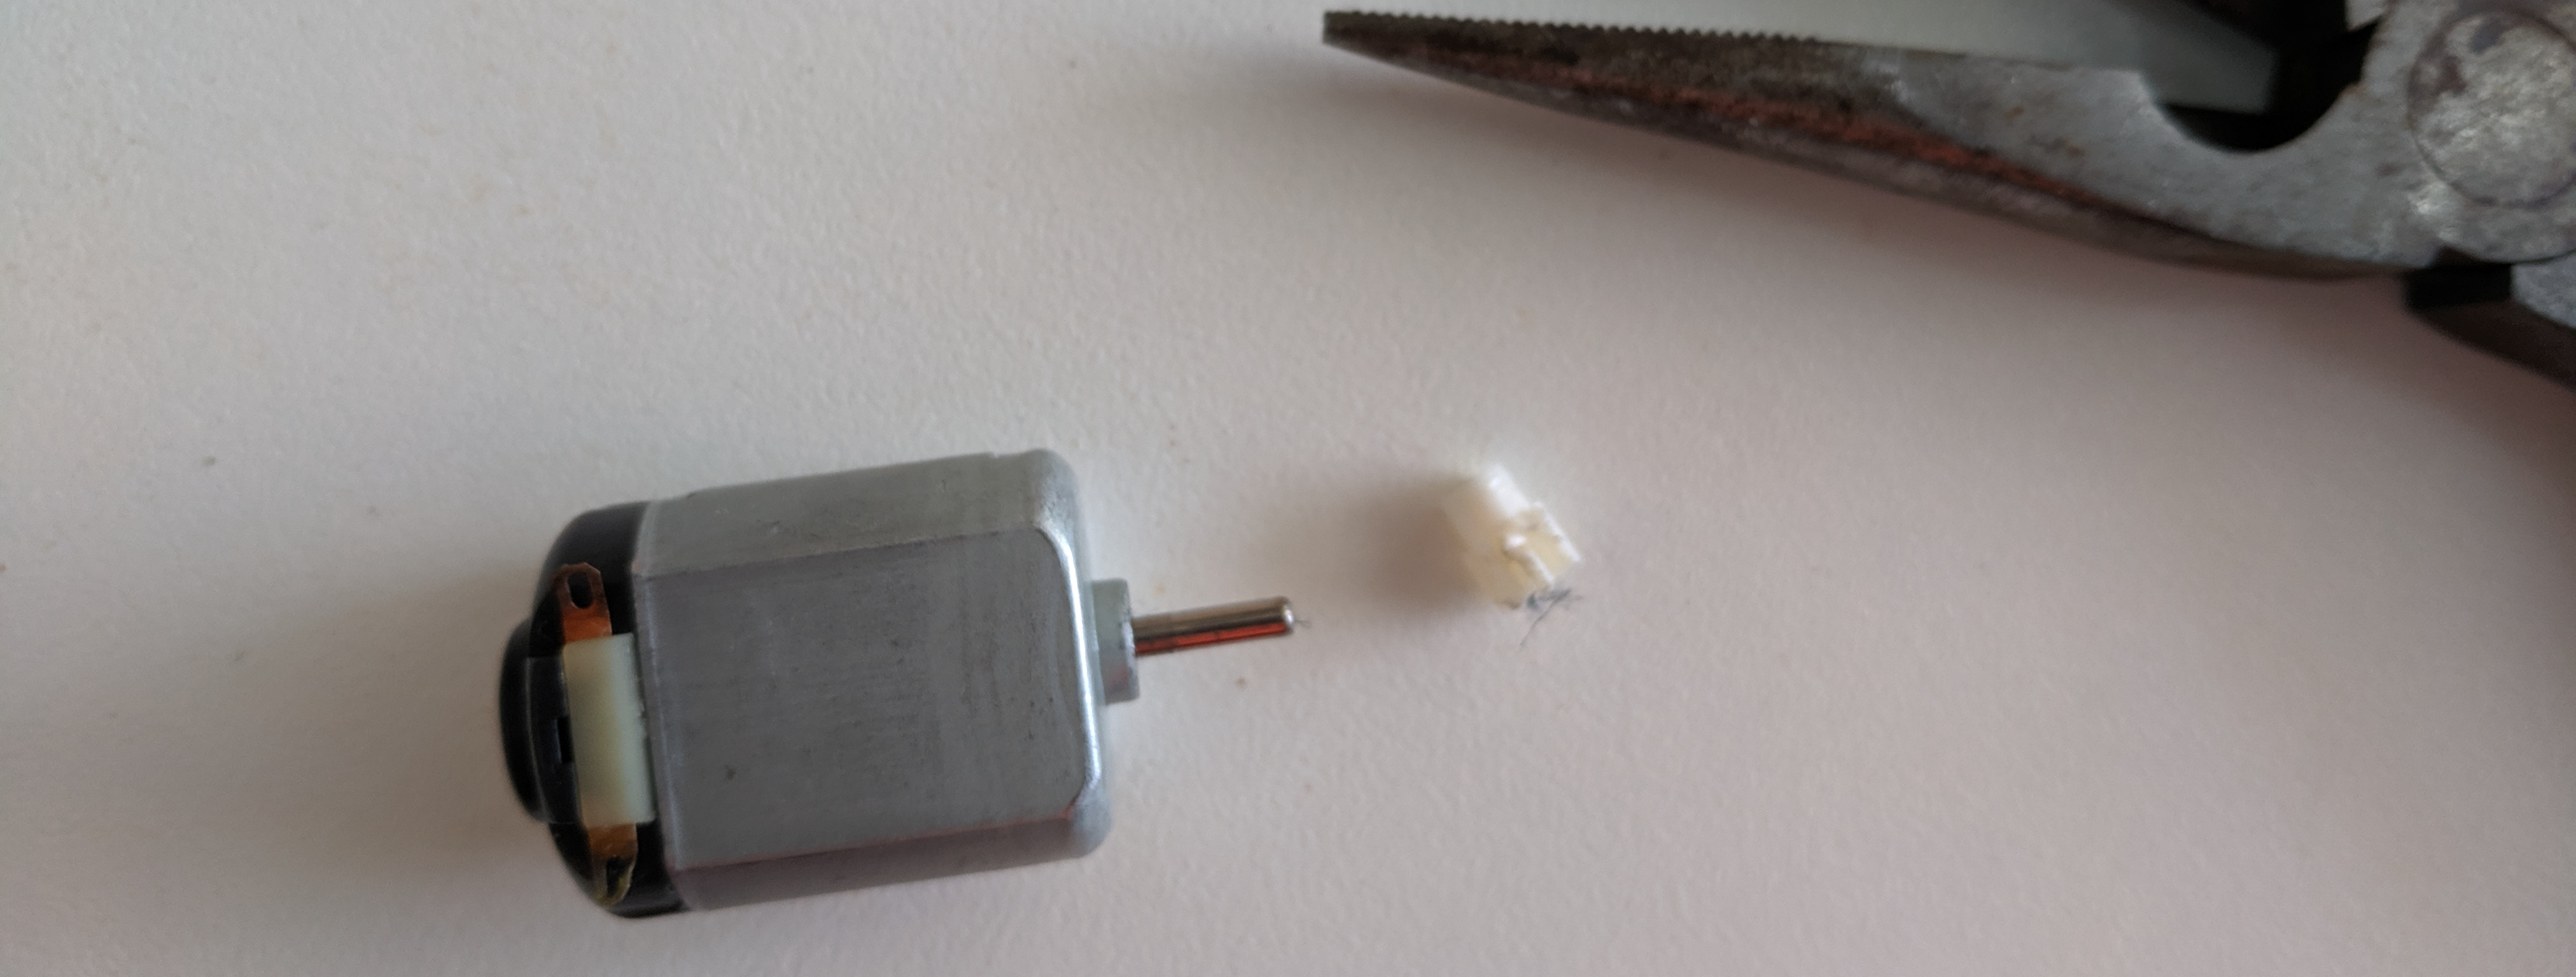
- Carefully remove connecting gear from the motor shaft using a pair of pliers. The grey DC brushed motor is useful for powering flywheels on MiniFRC robots because of its speed and size.
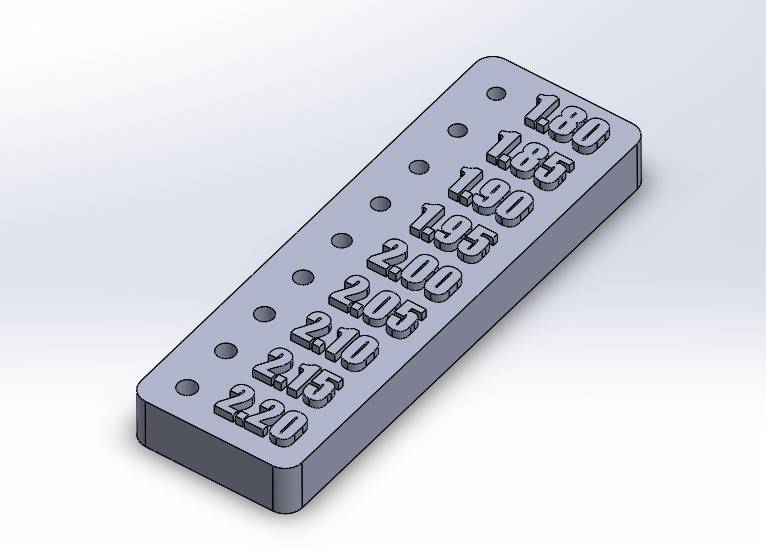
- Creating a flywheel for one of these motors is usually done with a 3D printer. Designs for flywheels are usually simple cylinders with a hole for the motor shaft in the middle. The hardest step in 3D printing a flywheel is getting the press-fit on the motor shaft correct. While all motor shafts are 2 mm, it is usually difficult to 3D print a hole with the correct tolerance. Teams can simplify this step by using this tolerance tester to find the right tolerance hole for their flywheel.
- Thin plywood
- Cardboard
- Lego wheels
- Bottlecap
- Crushed hopes and dreams
Alfredo recommends 3D printing or finding a friend with access to 3D printing. If teams cannot find access to a 3D printer, please consider a low goal robot or different strategy to maximize your team's competition experience. However, If teams cannot get access to a 3D printer and really feel the need to pursue a high goal robot, consider the following suggested items to construct a flywheel out of: